Homemade Peanut Butter Cups with Dark Cocoa
Highlighted under: Modern Kitchen
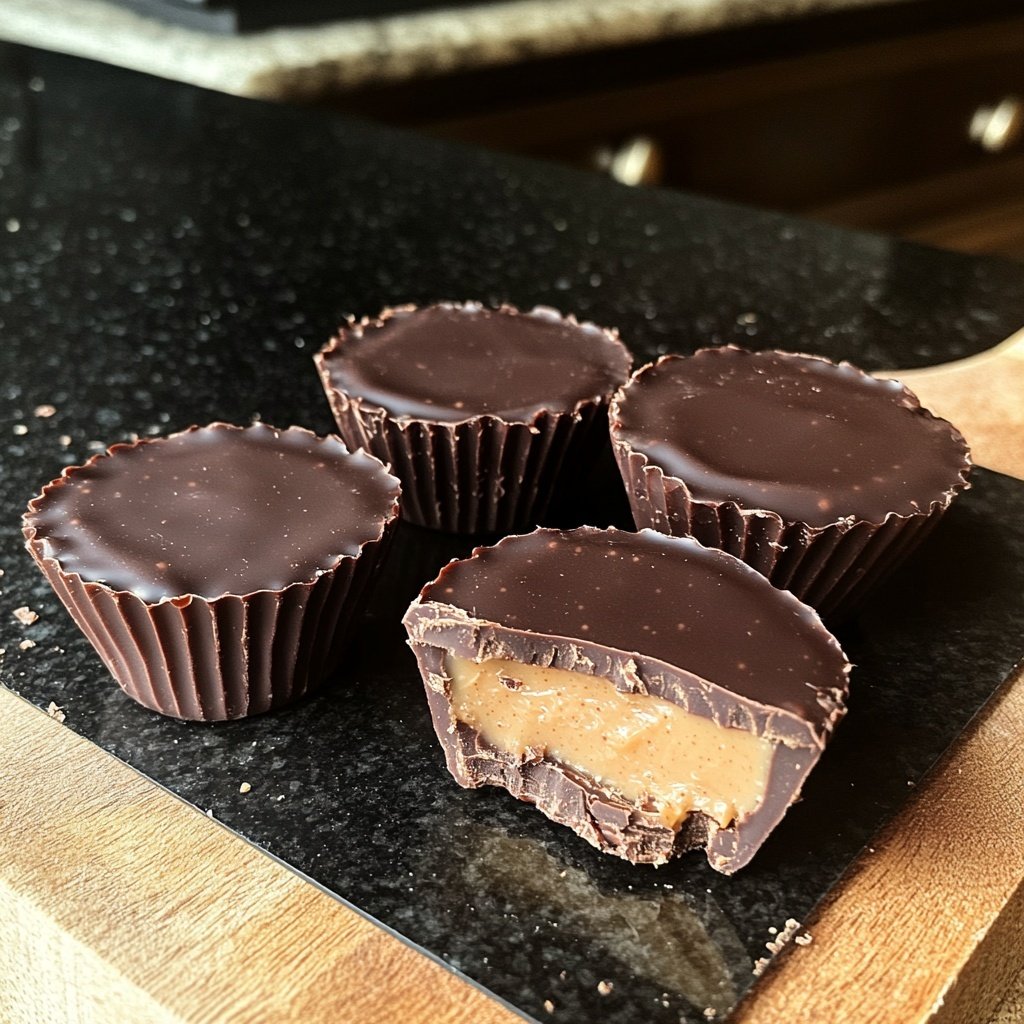
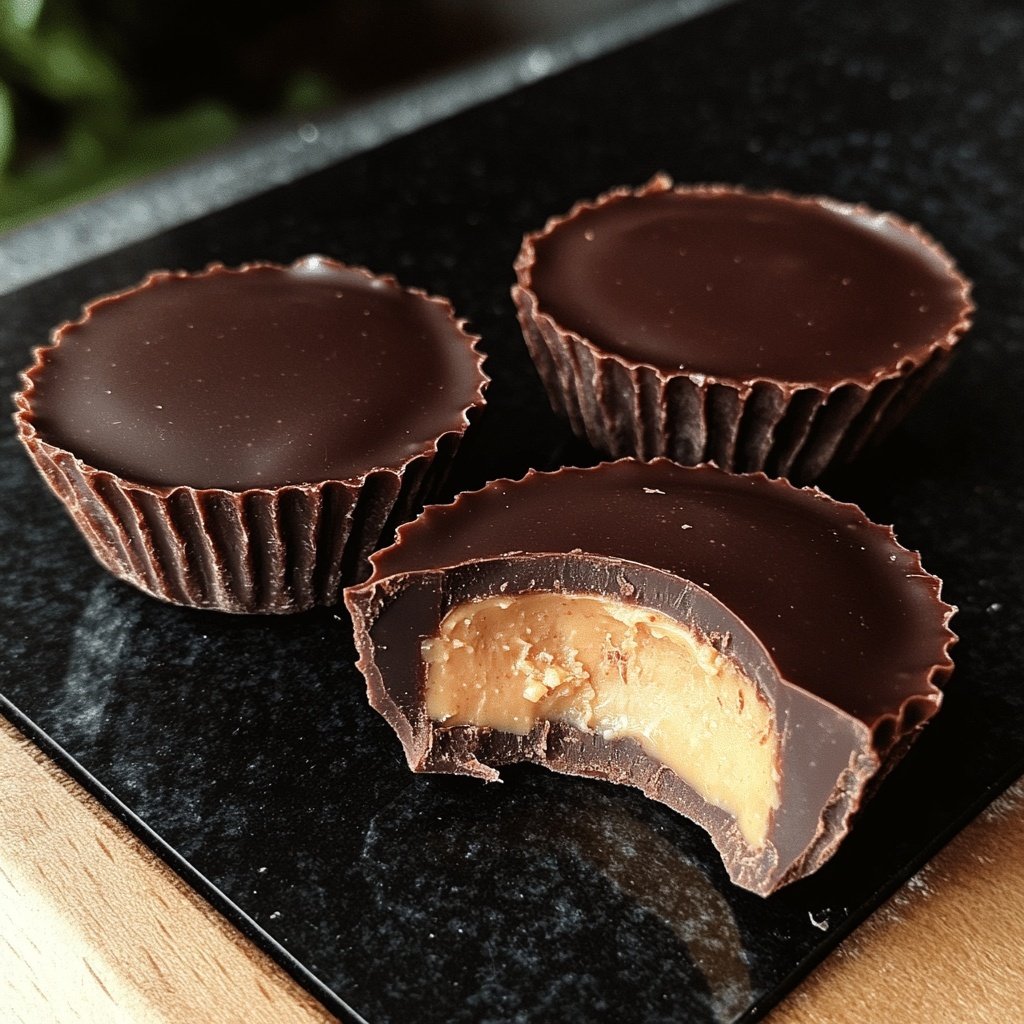
I absolutely love making my own Peanut Butter Cups at home, especially when they are coated in rich dark cocoa. The combination of creamy peanut butter and bittersweet chocolate creates an indulgent treat that is hard to resist. This recipe has become a top favorite in my household, satisfying sweet cravings while feeling a bit healthier than store-bought versions. With only a few simple ingredients, we can whip these up in no time. Plus, I find that making them myself allows for customization, particularly with the cocoa intensity!
When I first tried making my own peanut butter cups, I was blown away by how easy and enjoyable it was! The method of using dark cocoa instead of regular chocolate not only elevates the flavor but also adds a touch of sophistication. I remember tempering the cocoa carefully to ensure the best texture; it really made a difference in the final result.
One of my favorite tips is to let the mixture chill in the fridge for a bit before assembling the cups. This helps the layers hold together beautifully, and the contrast between the silky chocolate and the creamy peanut butter is absolutely divine. Every time I make these cups, they disappear so quickly my family can’t get enough!
Why You'll Love These Peanut Butter Cups
- Rich dark cocoa flavor that satisfies chocolate cravings
- Creamy peanut butter center with a touch of sweetness
- Easy to make and perfect for customization
The Role of Ingredients
The main component of the chocolate cups, dark cocoa powder, is essential for providing the rich flavor that pairs beautifully with the creamy peanut butter. When selecting cocoa, look for a high-quality, unsweetened variety to enhance the bitterness and depth of the final product. The use of melted coconut oil not only binds the ingredients together but also contributes to a silky texture, which ensures the chocolate layer sets perfectly without becoming too hard or brittle.
In the filling, smooth peanut butter is key to achieving that iconic creamy consistency we all love. If you're looking for healthier alternatives, natural peanut butters with no added oils or sugars will work fine, but ensure they're stirred well to avoid separation. Honey or agave syrup adds just the right amount of sweetness while balancing the saltiness of the peanut butter, elevating the overall flavor profile of the cups.
Assembly and Setting Tips
During the assembly process, it's important to allow the initial chocolate layer to harden in the refrigerator before adding the peanut butter filling. This helps keep the two layers distinct and prevents them from mixing. A good cooling time is about 10 minutes, but if you want to ensure a firmer base, you can chill it longer until it feels set to the touch but not too hard to remove from the liners.
When topping the peanut butter with more chocolate, ensure it's spread evenly to cover all edges completely. This not only enhances the appearance but also prevents the peanut butter from drying out. After assembly, a minimum chilling time of 15 minutes in the fridge will yield firmer cups, but for an optimal texture, consider letting them chill longer, up to an hour, which will help create that satisfying snap when you bite into them.
Ingredients
Ingredients
For the Cups
- 1 cup dark cocoa powder
- 1/2 cup coconut oil, melted
- 1/4 cup maple syrup
- 1/2 teaspoon vanilla extract
- 1/4 teaspoon salt
For the Filling
- 1 cup smooth peanut butter
- 2 tablespoons honey or agave syrup
- 1/4 teaspoon salt
Mix the filling and layer generously between chocolate.
Instructions
Instructions
Prepare the Chocolate Layer
In a bowl, whisk together the dark cocoa powder, melted coconut oil, maple syrup, vanilla extract, and salt until smooth. This will be the outer layer.
Set Up the Cups
Pour a small amount of the chocolate mixture into the bottom of a muffin tin lined with paper liners. Use just enough to coat the bottom. Chill in the fridge for about 10 minutes to set.
Make the Peanut Butter Filling
In another bowl, combine smooth peanut butter, honey (or agave), and salt. Mix until well blended and creamy.
Assemble the Cups
Once the chocolate base has set, remove from the fridge and add a generous scoop of the peanut butter filling on top of the chocolate layer. Then, pour additional chocolate mixture over the filling, covering it completely.
Final Chill
Return the muffin tin to the fridge for at least 15 minutes to allow the cups to fully set. Once hardened, carefully remove the cups from the liners.
Enjoy your homemade treats!
Pro Tips
- For a deeper chocolate flavor, try adding a pinch of espresso powder to the chocolate mixture. Also, experiment with different nut butters for a unique flavor twist!
Storage and Make-Ahead Options
These Homemade Peanut Butter Cups can be made ahead and stored for convenience. Once fully set, transfer them to an airtight container and refrigerate, where they will stay fresh for up to two weeks. If you prefer to freeze them for longer-term storage, use freezer-safe containers, separating layers with parchment paper to prevent sticking. They can be frozen for up to 3 months and enjoyed straight from the freezer for a cool treat or allowed to sit out for a few minutes until they soften slightly.
If you find yourself with excess filling, you can easily make mini peanut butter balls and coat them in the remaining chocolate mixture. This is a wonderful way to avoid waste and create additional treats that can be shared. They also make for fun variations if you want to switch up the presentation!
Flavor and Variation Ideas
While this recipe is delicious as is, there are plenty of variations you can try to customize your peanut butter cups further. For a hint of spice, add a sprinkle of cayenne pepper or a dash of cinnamon to the chocolate layer for an unexpected kick. Alternatively, incorporating crushed nuts or a sprinkle of sea salt on top of the final chocolate layer can provide intriguing textures and flavors.
For those who enjoy a different chocolate experience, try substituting dairy-free chocolate for the dark cocoa powder. You can also explore using white chocolate and peanut butter for a contrasting flavor, or even try using nut butters like almond or cashew for a delightful twist that still retains that creamy consistency everyone's sure to enjoy.
Questions About Recipes
→ Can I use milk chocolate instead of dark cocoa?
Yes, but using milk chocolate will change the flavor profile and sweetness, making them a bit sweeter.
→ How should I store these peanut butter cups?
Store them in an airtight container in the refrigerator for optimal freshness.
→ Can I freeze these cups?
Absolutely! You can freeze them for up to three months. Just make sure to wrap them well.
→ What can I use instead of peanut butter?
You can substitute with almond butter or cashew butter for a different flavor.
Homemade Peanut Butter Cups with Dark Cocoa
Created by: Primrose Cavendish
Recipe Type: Modern Kitchen
Skill Level: Beginner
Final Quantity: 12 cups
What You'll Need
For the Cups
- 1 cup dark cocoa powder
- 1/2 cup coconut oil, melted
- 1/4 cup maple syrup
- 1/2 teaspoon vanilla extract
- 1/4 teaspoon salt
For the Filling
- 1 cup smooth peanut butter
- 2 tablespoons honey or agave syrup
- 1/4 teaspoon salt
How-To Steps
In a bowl, whisk together the dark cocoa powder, melted coconut oil, maple syrup, vanilla extract, and salt until smooth. This will be the outer layer.
Pour a small amount of the chocolate mixture into the bottom of a muffin tin lined with paper liners. Use just enough to coat the bottom. Chill in the fridge for about 10 minutes to set.
In another bowl, combine smooth peanut butter, honey (or agave), and salt. Mix until well blended and creamy.
Once the chocolate base has set, remove from the fridge and add a generous scoop of the peanut butter filling on top of the chocolate layer. Then, pour additional chocolate mixture over the filling, covering it completely.
Return the muffin tin to the fridge for at least 15 minutes to allow the cups to fully set. Once hardened, carefully remove the cups from the liners.
Extra Tips
- For a deeper chocolate flavor, try adding a pinch of espresso powder to the chocolate mixture. Also, experiment with different nut butters for a unique flavor twist!
Nutritional Breakdown (Per Serving)
- Calories: 120 kcal
- Total Fat: 8g
- Saturated Fat: 5g
- Cholesterol: 0mg
- Sodium: 60mg
- Total Carbohydrates: 10g
- Dietary Fiber: 1g
- Sugars: 3g
- Protein: 3g